A few things have happened since the last time I posted. The fuel hoses came in and I started working on replacing the wheel studs... however, for the front, the wheel assembly needs to be removed from the front rotors in order to replace them. They ended up being rusted together haha. WD-40 and hammering away didn't seem enough to separate the two so I threw in the towel. It was mostly the rear studs I wanted to replace anyway since a few were broken already and the fronts looked good so... yeah haha not going to bother with it so I'm putting everything back together today. Here's some pics of what I cleaned up in the process!


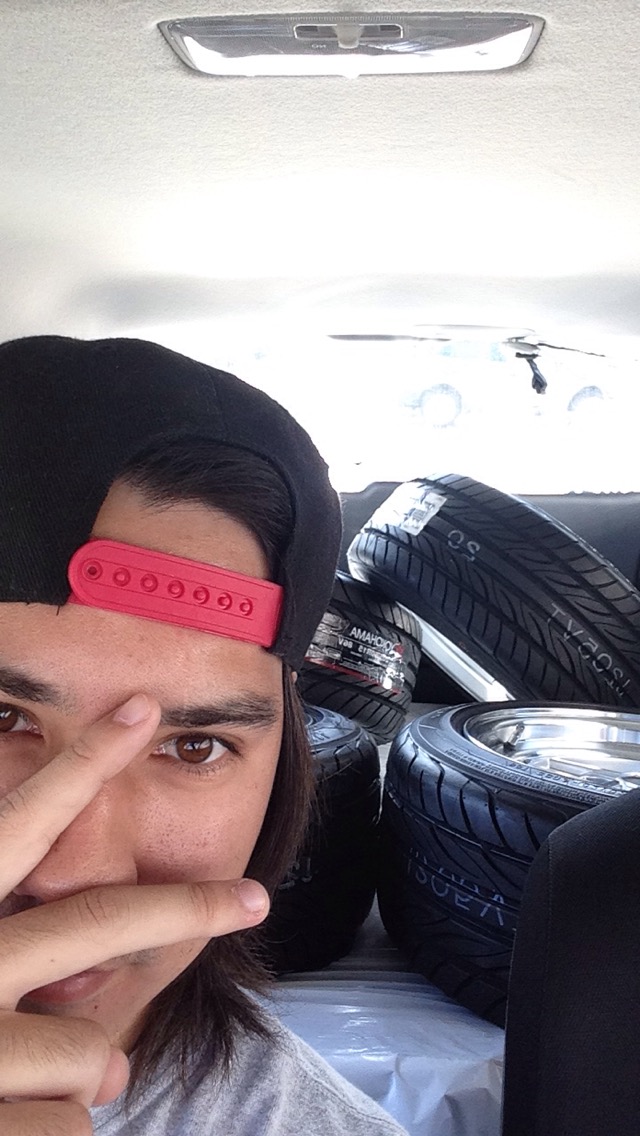
I also got some tires back in April! I ended up getting some Yokohama S-Drives in 205/50/15. Some stretch on the wheels I got but it's not too bad. Here's some pics!

Every time I saw my dirty, stiff, and crusty shiftboot, I wanted to do something about it. I knew I could buy a replacement, but where's the fun in that? I want the car to represent myself. As a person who loves the Star Wars movies, I figured why not buy some Star Wars fabric and make my own? I ended up taking out the stitching from the original to trace out for templates which I transferred to the fabric to cut out. The original boot had 4 sections so I tried it that way (shown in the following pics). Just need to stitch the seems together inside out so when you flip it the right way, it looks clean.


Don't worry, I restitched the top since it was sloppy. But, this is what
it generally looks like. I made another one with two sections instead of
four and it looks better IMO since you can see of the comic book
covers more clearly but the other one stands up more easily so
I'm going to hang onto both and test fit when the time comes.

In addition, I wrapped my 6-1 exhaust headers with titanium header wrap which was a pain in itself. I ended up using 100ft. worth of wrap. Right now the headers are coated with a high temperature silicone coating to further keep the heat in the header and not so much in the engine bay which helps when your carburetors sit directly above the headers.

That's basically everything up until now! I just resprayed my center console which looks sooo much better now but I'm going to wait until it dries to take any pics so it'll be in the next update as well as putting up the pics with the wheel hub assembly/wheels actually on the car! Maybe more interior stuff and putting more parts back on the car also!